This blue cheese dressing recipe with yogurt takes just 10 minutes to make, and it’s better than anything you can buy from the grocery store! Gorgonzola, mayonnaise, lemon, Worcestershire sauce, and fresh herbs come together to create a delicious homemade salad dressing that you’ll want to make again and again!
It’s cool, creamy, and making it yourself is more budget-friendly than buying it. Add it to your weekly meal prep menu and enjoy all the ways to use it, and not just in salads. Use it as a creamy blue cheese dip for wings, chips, and my turkey sliders instead of honey mustard!
Homemade condiments always taste better and are well worth the effort. Add this to your collection of salad dressing recipes and enjoy! And if you love ranch, you’ll love my homemade ranch seasoning.
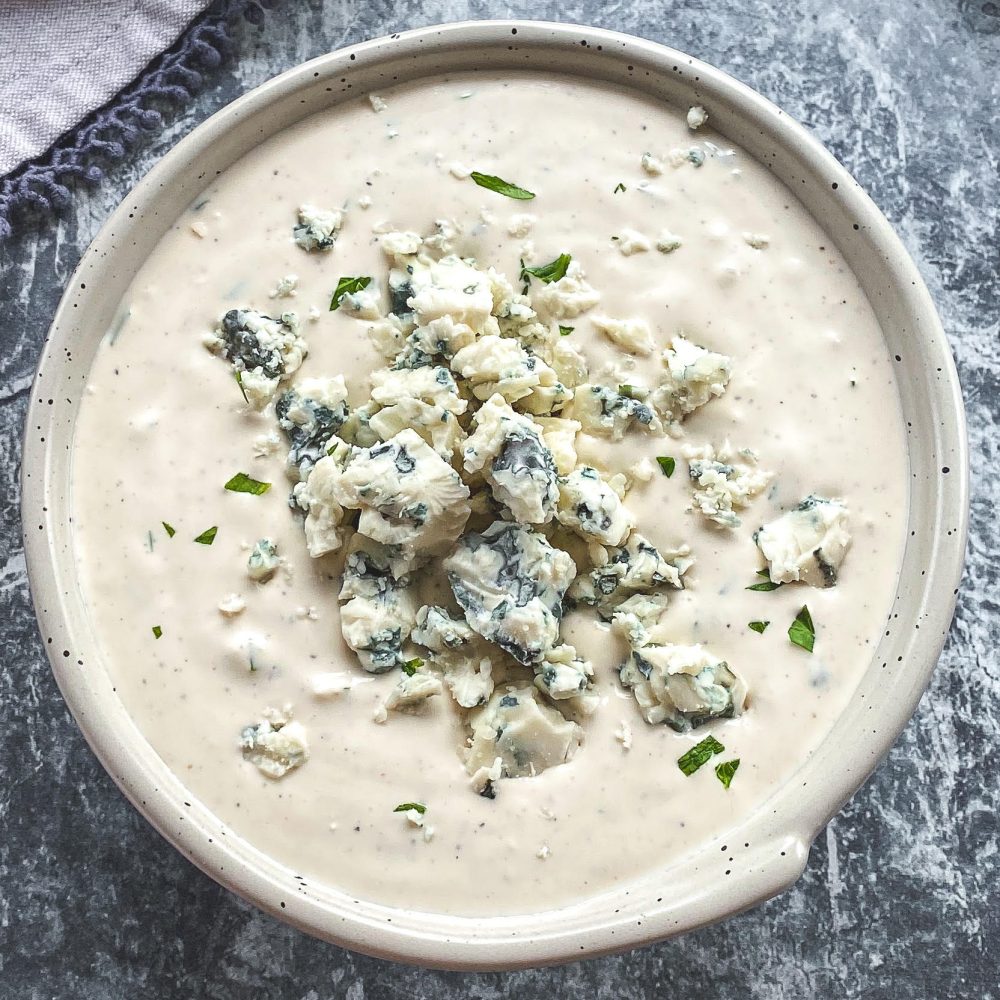
Once you make this blue cheese dressing with yogurt, you’ll never buy store-bought again. It’s cool, creamy, blue-cheesy perfection, and it couldn’t be easier to make!
My go-to is Gorgonzola, an Italian blue cheese. It’s milder in flavor, so you can add more without it overpowering the dish. If you love blue cheese and want a stronger flavor, I recommend Roquefort. It’s sharp, tangy, and more pungent than Gorgonzola. I recommend buying a wedge of blue cheese and crumbling it yourself for the best taste and texture. You want a good quality yet affordable blue cheese. Save the high-end, more expensive stuff for your cheese boards. That said, use a blue cheese that you love!
Blue Cheese Dressing With Yogurt
Why no buttermilk? I never buy buttermilk, so I use Greek yogurt to keep this recipe simple. It imparts the dressing a signature tang and serves as a perfect substitute for buttermilk. I strongly encourage you to prepare it in advance and let it sit in the fridge for at least 3-4 hours. It allows the flavors to blend, making it even better!
Main Ingredients
My recipe has a few more ingredients than others, but it’s worth the extra effort. The complete ingredient list is provided in the recipe card below.
- Blue cheese. I typically use Gorgonzola, but any blue cheese will work.
- Mayonnaise + Greek yogurt. For maximum creaminess and tang.
- White vinegar + lemon. For a balanced flavor and to brighten the dressing.
- Worcestershire. This adds a savory, complex, and delicious flavor. Don’t skip it!
- Frank’s Red Hot. It’s my secret ingredient. It adds a zippy tang that my family loves!
[wptb id=141750]
Step-By-Step Process
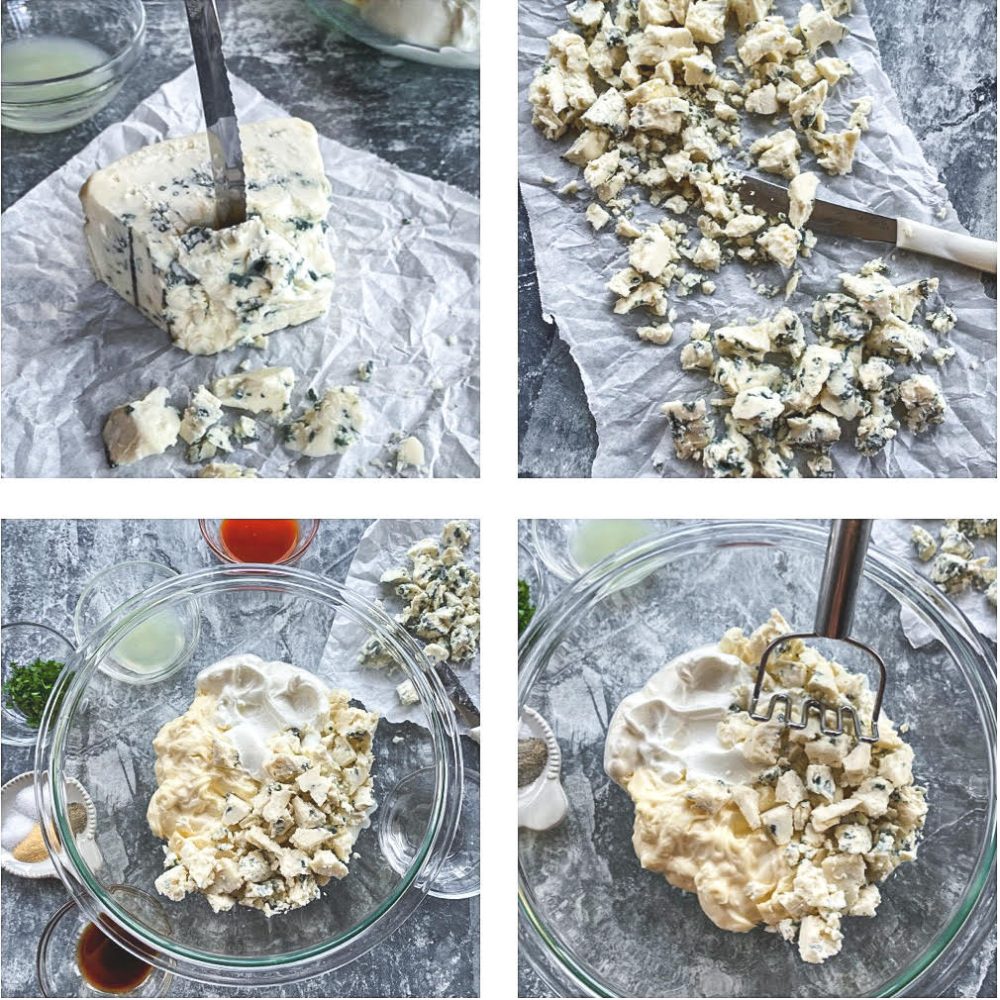
This recipe can be prepared in one bowl and takes under 15 minutes to prepare. However, I suggest letting it sit in the fridge for a bit before serving. The flavors will develop, making the dressing even more delicious!
- Crumble the blue cheese: Insert the knife into the top of the cheese and twist to break it into chunks.
- Add the remaining ingredients to a bowl, reserving some of the blue cheese.
- Mash it up using a small masher, such as the one shown. You can also use a fork.
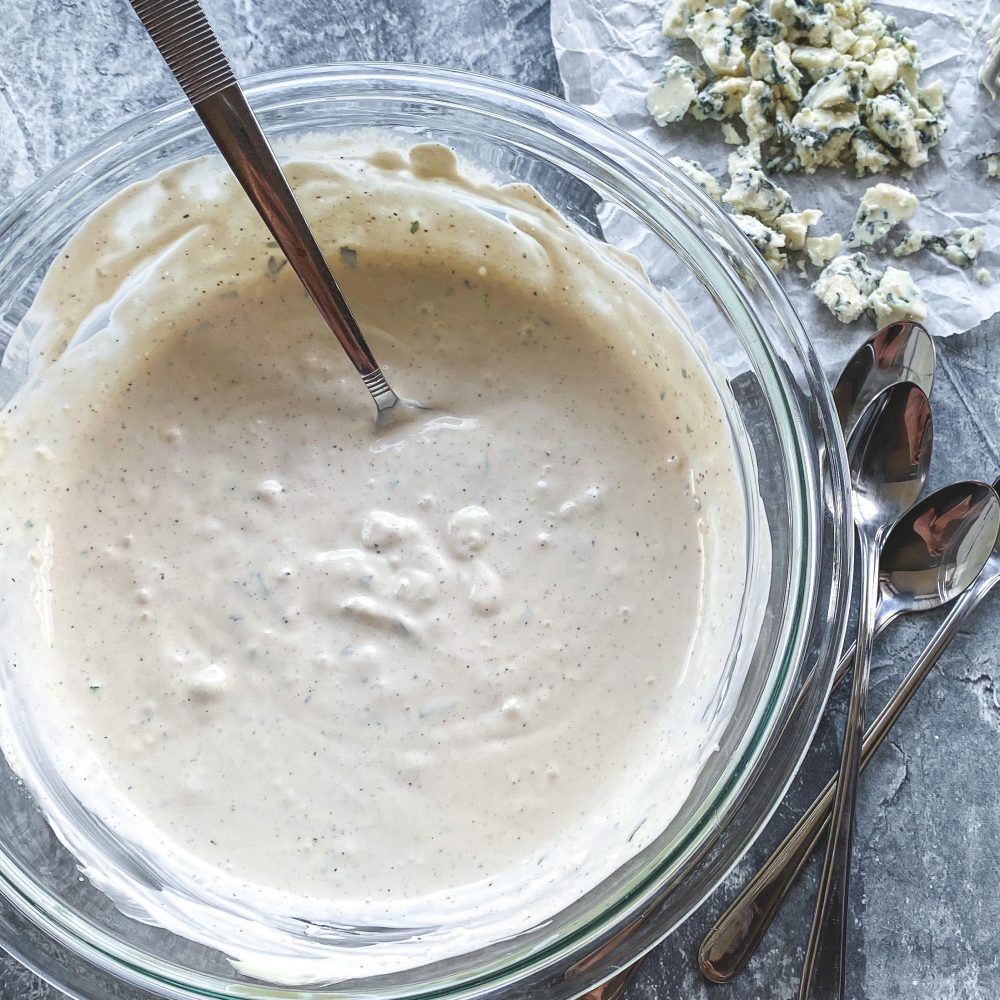
- Depending on your preferred consistency, you may need to add a splash of milk or half-and-half.
- Enjoy immediately or let it rest for a few hours for even better flavor.
Note. If you like a chunky dressing, reserve some of the crumbled blue cheese and stir it at the end. Alternatively, if you prefer a completely smooth texture, mash it or make the dressing in a small blender or food processor.
Recommended Equipment
- Small masher: It’s easier than a fork when incorporating the blue cheese into the other ingredients.
- Medium-sized bowl: I recommend using something a little larger than you think you might need.
- Small blender or food processor: When I’m feeling especially lazy, I throw everything in my small food processor and stir the extra blue cheese at the end.
[wptb id=141732]
Blue Cheese Dressing With Yogurt – Tips & Suggestions
- If you don’t have white vinegar, apple cider vinegar works just as well.
- Don’t have lemon juice? Omit it and use all vinegar.
- I would caution you against using honey as a sweetener. It throws the flavors off.
- Instead of Italian parsley, use curly parsley, chives, or the tops of scallions.
- Drizzle it over salads, serve as a dip for veggies or chicken wings.
- Use as a base for buffalo chicken pizza or mix with a bag of coleslaw for a fun twist on slaw.
- Serve as a dipping sauce for buffalo chicken meatballs – perfect flavor combo!
- Store the blue cheese in an airtight container in the refrigerator for up to three days.
If you’ve tried my blue cheese dressing with yogurt, please leave a comment below!
[wptb id=134710]
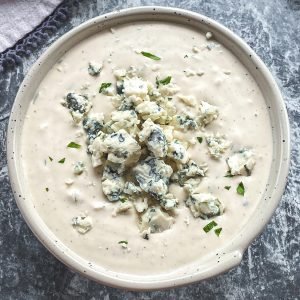
Blue Cheese Dressing Recipe with Yogurt
Ingredients
- 4-6 ounces blue cheese
- 1/2 cup mayonnaise
- 1/2 cup plain Greek yogurt
- 1 tablespoon white vinegar
- 1 tablespoon lemon juice
- 1/2 teaspoon Worcestershire sauce
- 1 teaspoon Frank's Red Hot
- 1/4 teaspoon sugar (I use Monkfruit) ** see note
- 1/4 teaspoon garlic powder
- 1/4 teaspoon black pepper
- Milk or half-and-half to thin it out
- Salt to taste
Instructions
- Crumble the blue cheese and set aside.
- Add the mayonnaise, yogurt, and 4 ounces (1/2 cup) of the blue cheese to a bowl.
- Use a fork or a small masher to mash the ingredients gently.
- Add the vinegar, lemon, Worcestershire, hot sauce, garlic, pepper, sugar, and parsley to the bowl.
- Mix well and add an additional 2 ounces of blue cheese crumbles.
- Cover the dressing and let it hang out in the fridge for at least 3 hours.
Glad I found this recipe. I knew it was possible to make your own but I didn’t think it was this easy. I loved the idea of using Greek yogurt as opposed to the sour cream recipes. I seasoned to my liking and the Gorgonzola was an excellent choice. Thank you for this, I’ll make my own from now on!